Lessons learned from a habitual outdoor runner

Tag: repairs

Spring-Summer 2021

I guess it is time to update my records here. With work, life, and the pandemic time has escaped my attention from posting here.

The good news is that my legs continue to get better from the previous injuries and I have had several sub 9-minute miles while running, which is a big deal for me as part of this recovery.

March-August 2021 Summary

Breaking it down by month

Monthly summary

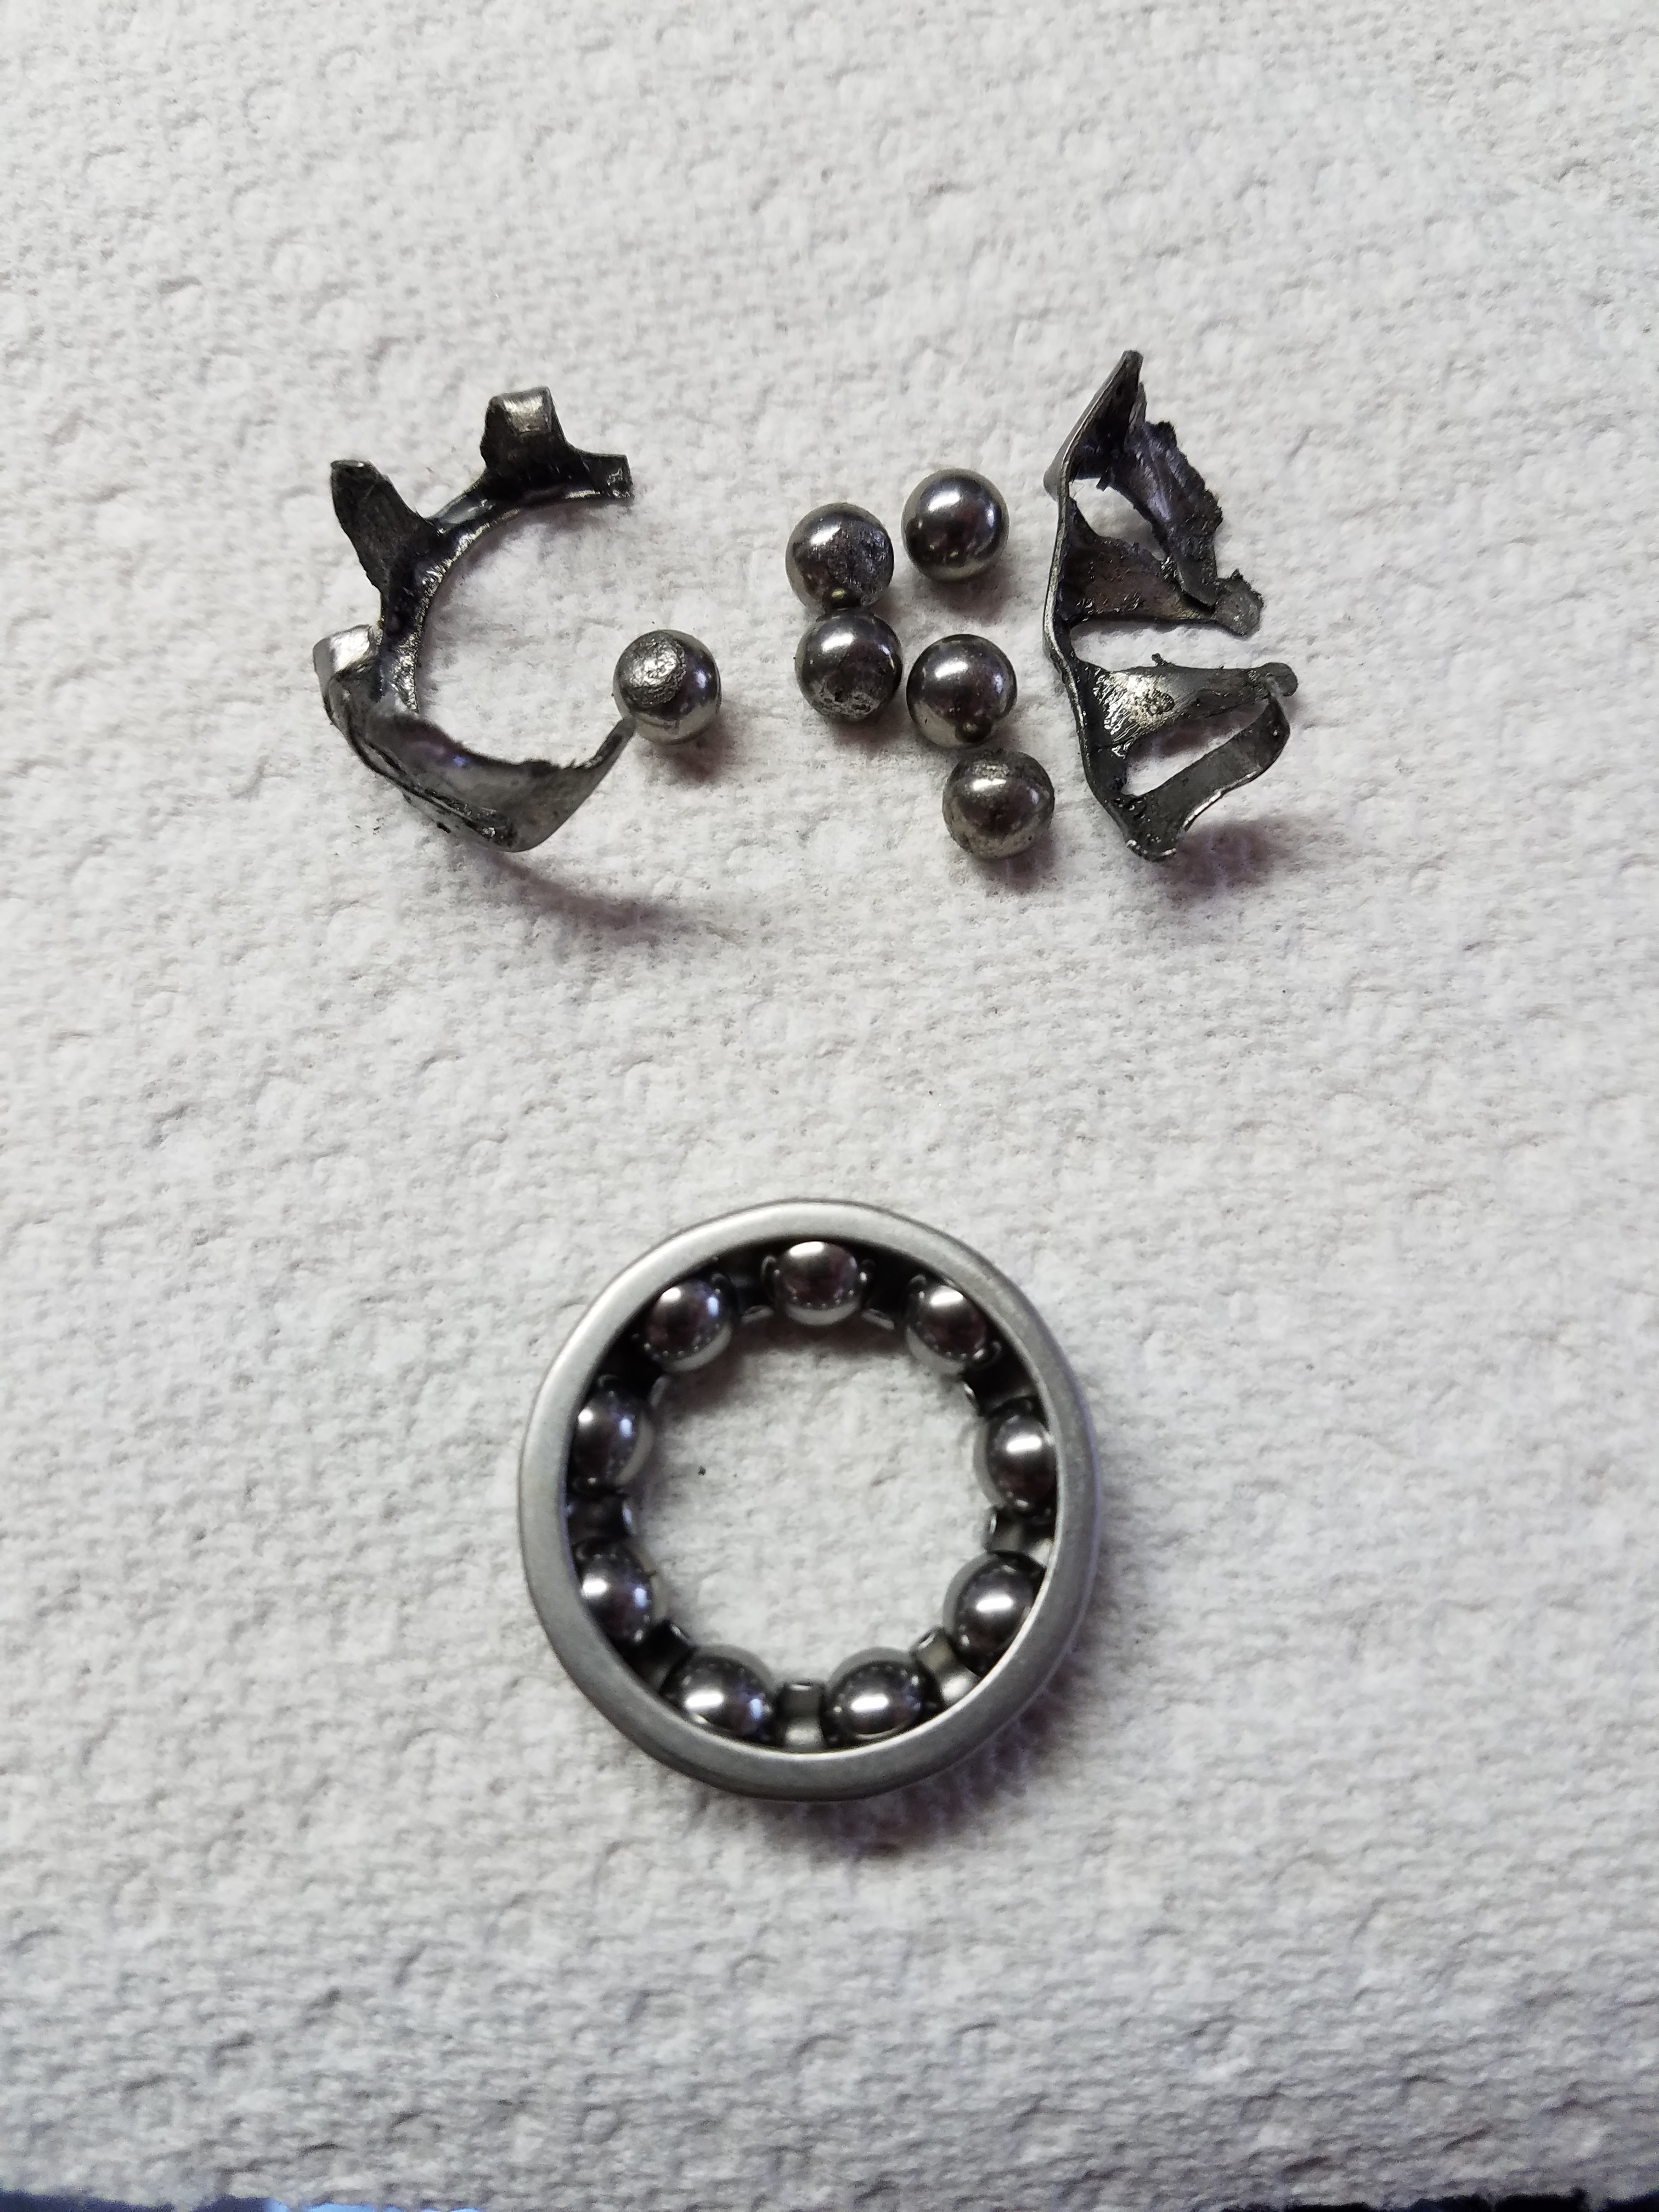
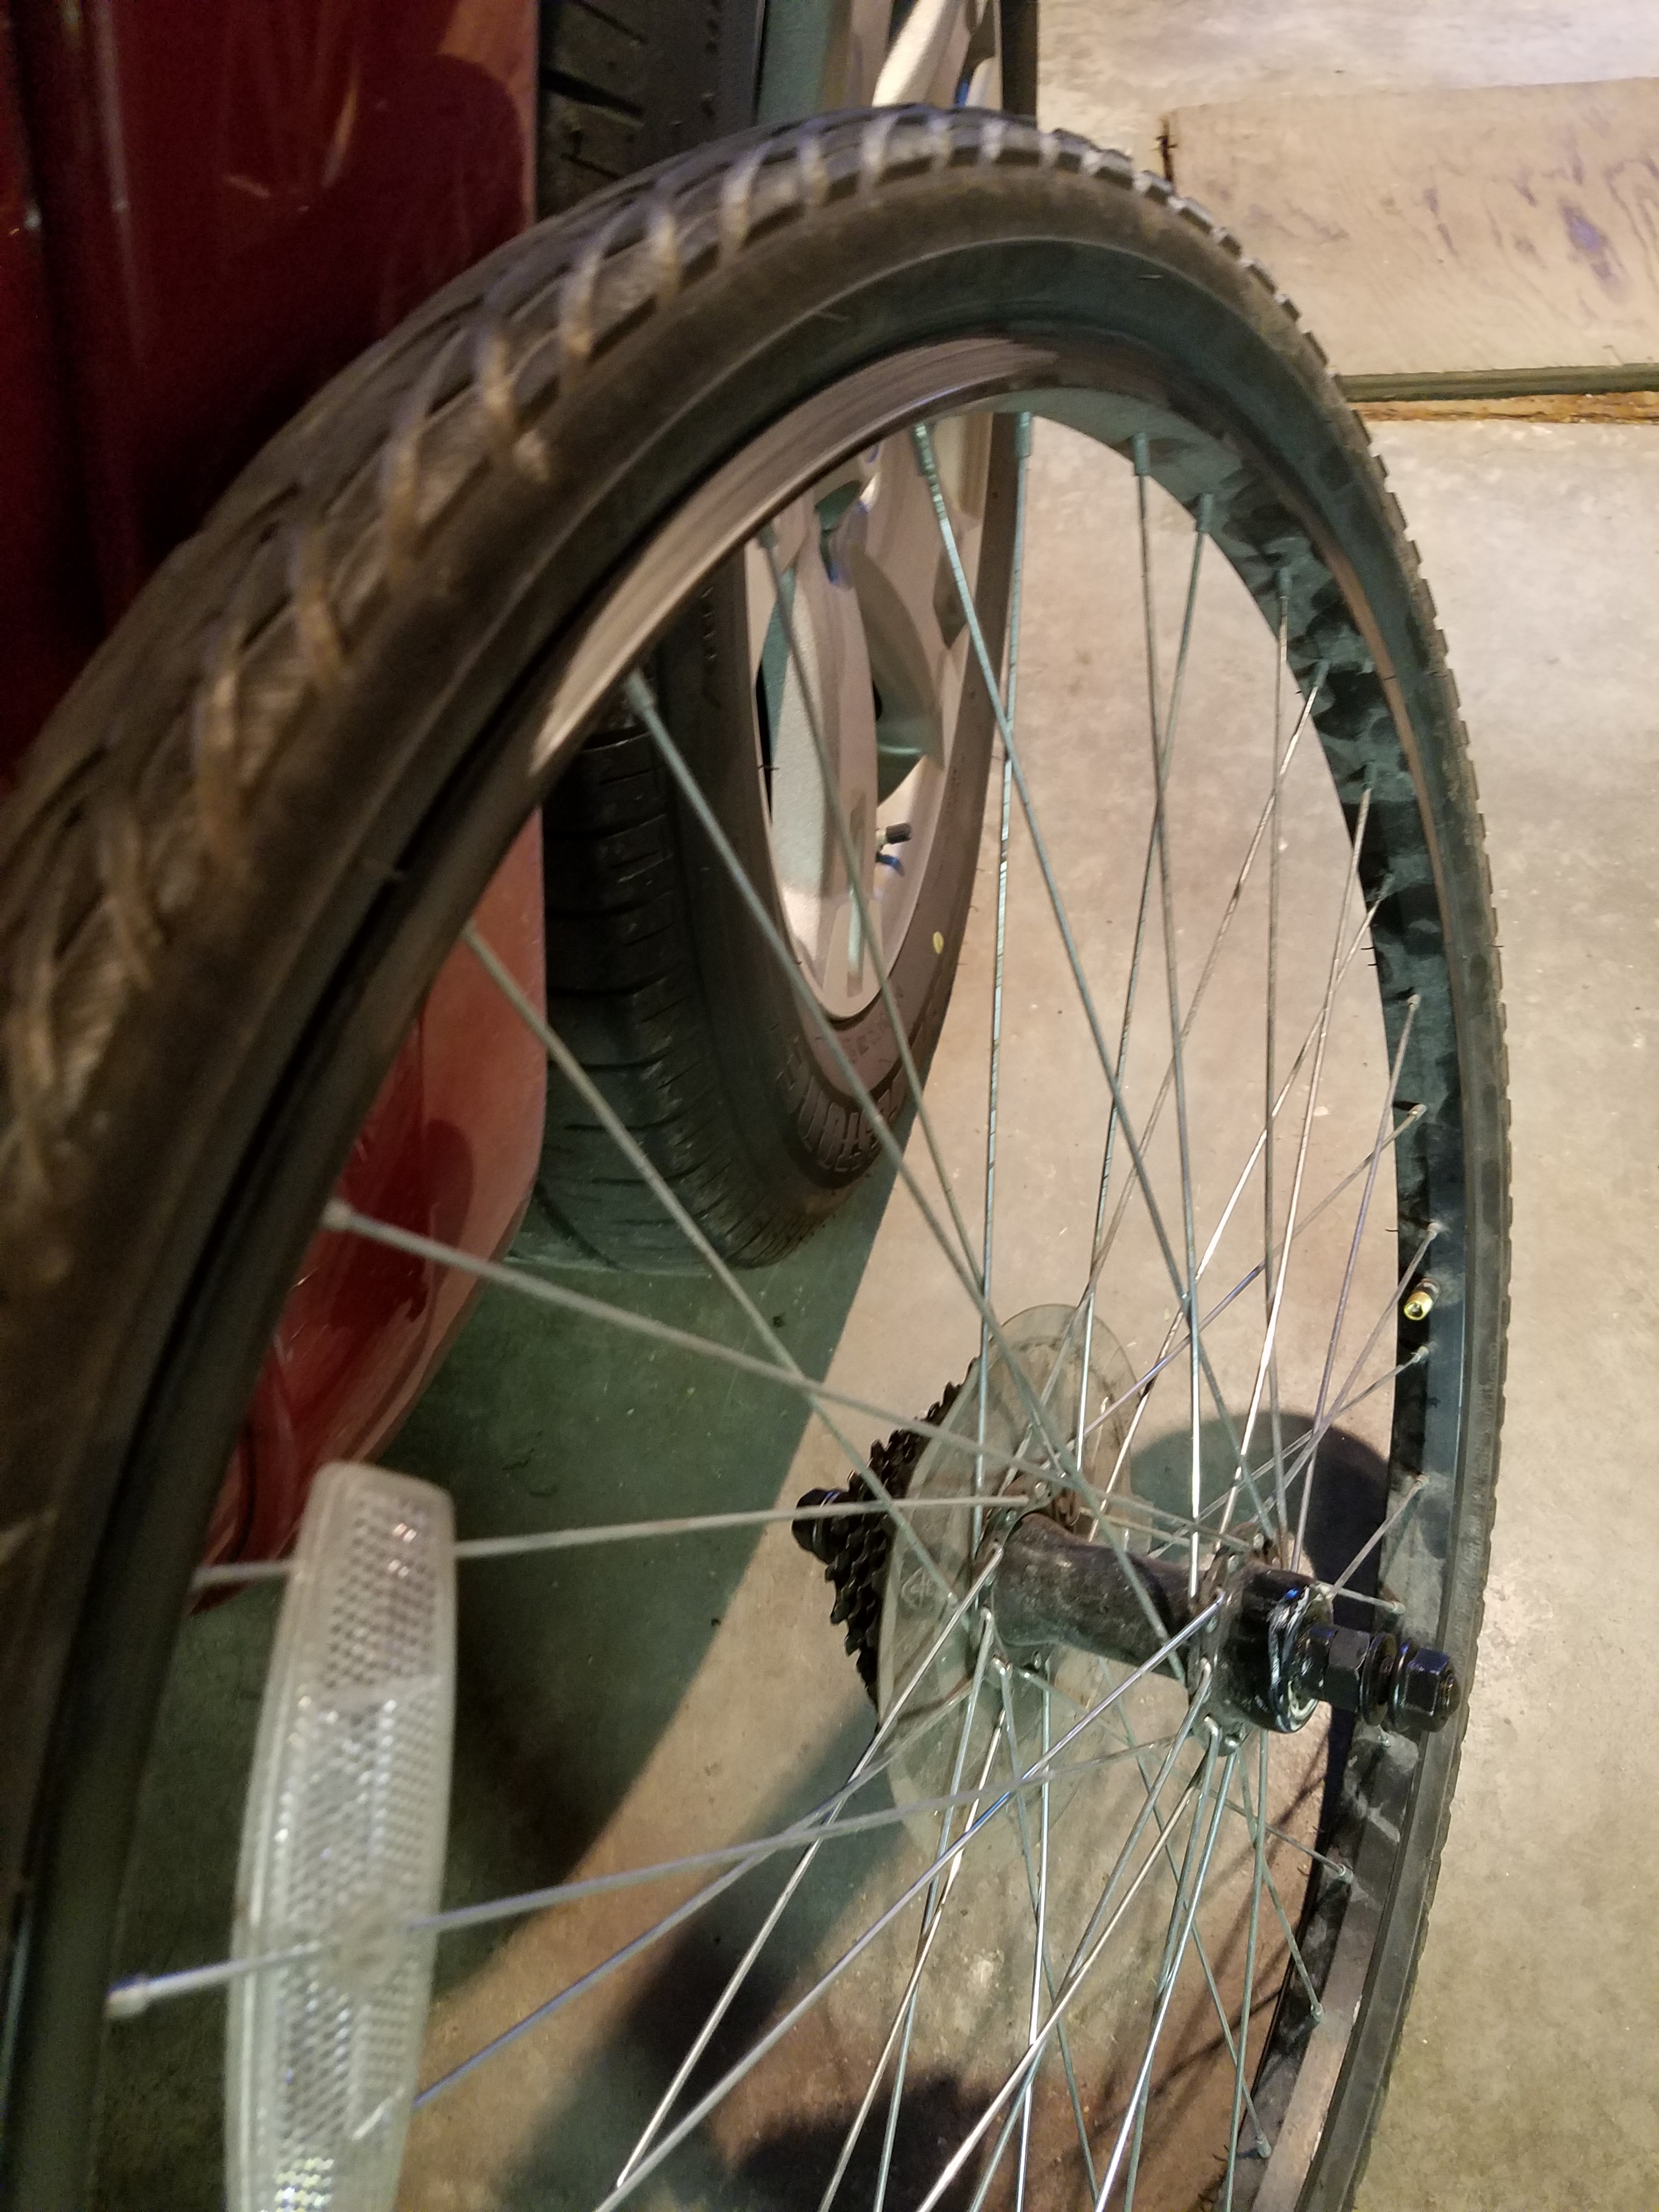
Most of the cycling has been on Kermit as Goose is having bottom bracket issues again. I did have my first on the road flat this summer. I was 12 miles into a ride, about 9 miles from home, and luckily 1.5 miles from a Walmart at 7:00 am on a Saturday morning.

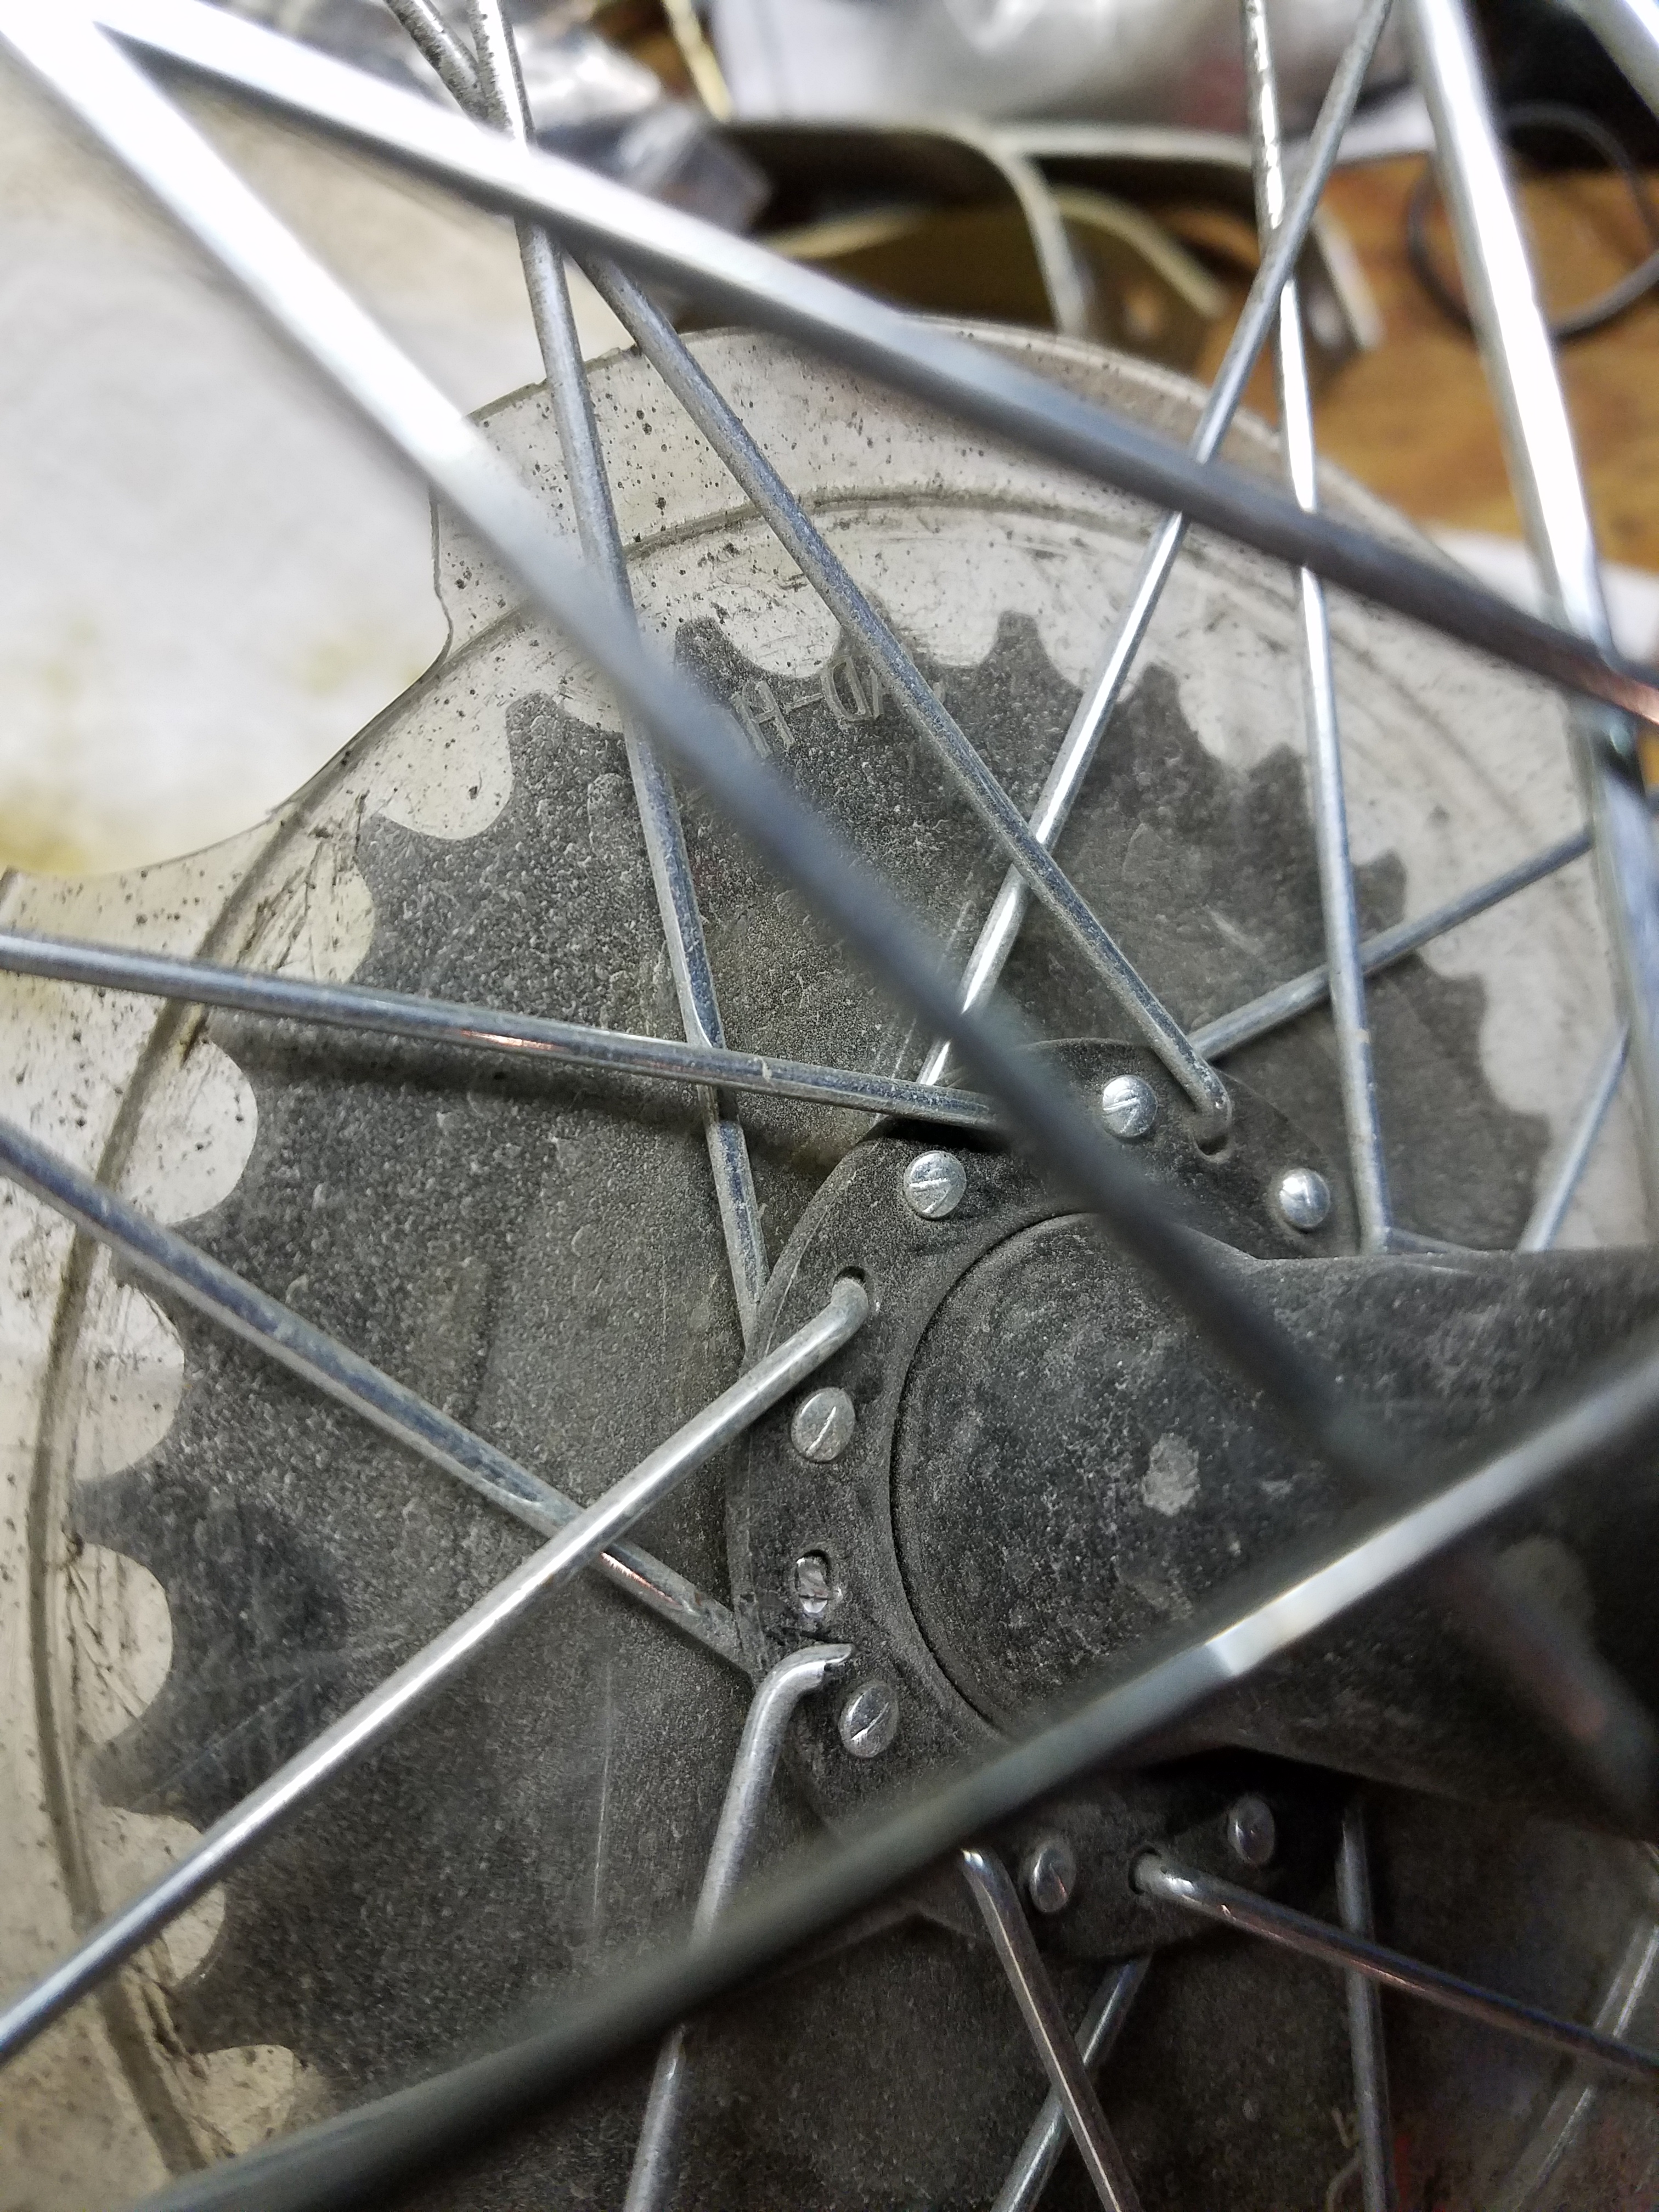
I do keep a tire/tube repair kit on the bike with me although I’ve not had to use it until now. It was the rear tire and it was really worn out so I was hoping Walmart might have a tube and tire I could purchase instead of just trying to patch the old stuff. Of course, the rear tire is more complicated to replace or repair.

I was in luck, they had both tube and tire so outside of the store as the sun was gaining strength, I started the repair. SNAP! The handy little multi-wrench in my repair kit snapped immediately upon first use. Back into Walmart to purchase a small adjustable wrench.

After completing the replacement and pumping as much air as I could with my portable hand pump, I started the 9-mile trek home. I was tired and hungry when I arrived home, but so thankful for how well things worked out.

The weather is starting to cool a bit here in the first week of September and I’m sure before too long I’ll be back to layering clothes to meet the change. Be safe out there folks and keep putting in the work to stay as healthy as you can.

Bottom Bracket Education

I like to learn new things all the time and this bicycle bottom bracket issue has more to it than one may expect. I ride cheap bikes for exercise in contrast to the higher-end road and racing competitive bikes. There are many arguments to be found online on this topic, so I just do what works for me. I also like to tinker with things (electrical, technological, programmatic, and mechanical).

I have to say that I’ve put 10x more miles on my pedal-bikes than I put on my motorcycle each year (sort of sad for the motorcycle). If you don’t mind buying some tools and getting your hands dirty, working on these cheaper bikes isn’t too bad and not that expensive.

When I pulled the bottom bracket apart today I was greeted with several little pieces of metal falling out. Below you can see what kind of shape the drive-side bearing was in compared to how it looked when new. It was a mess. Of course, the axle is a little rough now as well, so I’ve placed an order for one of those ($9-12 depending on shipping).

New versus old bearing sets

To add to the complexity statement earlier, there are many variations of bottom brackets out there, and after some research I was able to identify my particular axle (3N). This Sheldon Brown site was super helpful.

Searching Amazon returns more than 20k results for “bottom bracket”, so having some understanding of what you need helps to narrow the results. I learned I have a 68mm shell (British standard), which also means the drive-side is left-hand threaded, and my axle is a Size: 3N, 32.0 x 52 x 36.0 x 120mm. Apparently, getting this too far off can mess with your chain alignment, which makes sense, so if you make alterations on the front, be prepared to adjust other places as well.

Anyway, it was a good day to learn and I’m just waiting on parts now. Reassembly should be fairly easy.

Goose has a cavity

My faithful bike Goose has a broken spoke.

Around the 3,000 mile point, I noticed the rear wheel getting a bit of a wobble which eventually began wearing on the brake and rim.

When I finally took the time to investigate and repair it, I discovered a spoke was broken at the hub.

So a new adventure begins… where do you find spokes and how do you replace one. For the spokes, Amazon of course. But even that was work because you have to know several things like the gauge of your spokes and the length in millimeters. Once you have that best guess, you need to find a supplier and like many things today, there are very few in this country.

After I place the order and watch some how-to videos, I go into disassembly mode, only to discover I need another special tool to take the rear wheel sprocket assembly apart. Fortunately, a company named Park Tool has some great videos and of course, had the tool I needed (and in the USA).

The tool is on order, the spokes arrived, now let’s hope I can get it all to work when I get to work on it again.

In the meantime, my backup bike, Kermit is back on the road and doing well.

Powered by WordPress & Theme by Anders Norén